
REVIEW · PHOTOGRAPHY SESSIONS
Sydney Photography Masterclass – Private Photography Lesson
Night in Sydney gets taught, not just photographed. This private Sydney Photography Masterclass turns the evening lights into a practical learning session, from the exposure triangle to night settings and on-the-spot composition. You’ll follow a classic harbour route and also get guidance on where to stand and when to press the shutter.
I especially like two things: the lesson is private (up to four people), so you get real coaching instead of generic tips, and the teaching is built around what your camera actually does, like Aperture, ISO, and shutter speed. One consideration is that this session is most rewarding if your camera can control those fundamentals, because that is where most of the instruction focuses.
You’ll also move through multiple viewpoints after dark, from Milsons Point to Luna Park and the Rocks, then finish back at the start. That variety is great for learning framing in real situations, but it also means you should plan for some walking and changing angles quickly so you do not miss the best light.
Key highlights
- Private group size (up to four), so your questions do not get buried
- Exposure triangle coaching with real world tradeoffs you can use immediately
- Night photography settings and tactics for Harbour Bridge and Opera House style shots
- On location positioning, including making sure you are standing at the right spot at the right time
- Photo review time to help you improve faster after the session
A Private Sydney Night Photo Lesson With Real Camera Coaching
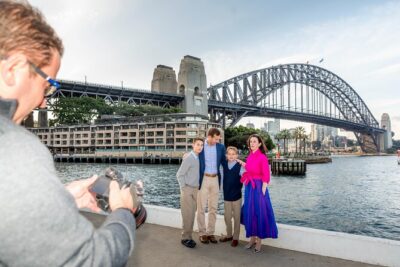
This is not a sit-and-watch workshop. It’s a three-hour coaching walk through some of Sydney’s most photographic corners, with a professional photographer guiding you step by step. The promise is simple: understand how your camera works, then apply it on real scenes that change every few minutes.
You start with fundamentals that matter at night. You’ll work through how Aperture, ISO, and shutter speed affect your image, and you’ll learn what tradeoffs to expect when you change one setting. That is the key. Night photography is not just “use this setting.” It’s deciding what you want, then choosing the settings that match.
I like that the session does not treat beginners as a separate class. In past sessions, the photographer named Glenn has been praised for adjusting the instruction so it works across different skill levels, including people who were still learning how to use manual mode. That style matters, because one person may need help framing, while another wants to nail shutter speed for light trails.
The best part is the timing advice. You’ll practice the idea of being in the right place at the right time, which is how you get crisp harbour structure shots instead of random angles and blurry misses.
You can also read our reviews of more private tours in Sydney
Price and Value: What You Get for $186.48
At $186.48 per person for about three hours, the value is in the pairing of location time plus hands-on instruction plus review. This is not a general city tour where the photography is optional. Here, the tuition and feedback are built into the format.
A couple things help justify the price:
- You get a professional photographer guide plus a local guide.
- You get photography tuition and review, not just “take photos here.”
- You’re in a small private group, up to four people, so the photographer can spend time on your specific questions.
Also, it’s a mobile ticket experience and it runs on a private route you can adjust. If you’ve ever been stuck in a large group where nobody can slow down, you’ll appreciate the pacing here.
Possible downside for your wallet: you have to bring your own camera. Tripods are not included, though a tripod rental option is available, so if you want long exposures, you’ll either need your own tripod or plan to rent one.
Meeting at Kirribilli: Starting Close to the Best Night Routes
The tour starts at 41 Broughton St, Kirribilli NSW 2061, and it ends back at the same meeting point. That matters because it keeps the night plan tight. You are not spending the first half hour commuting across town, which is crucial after dark.
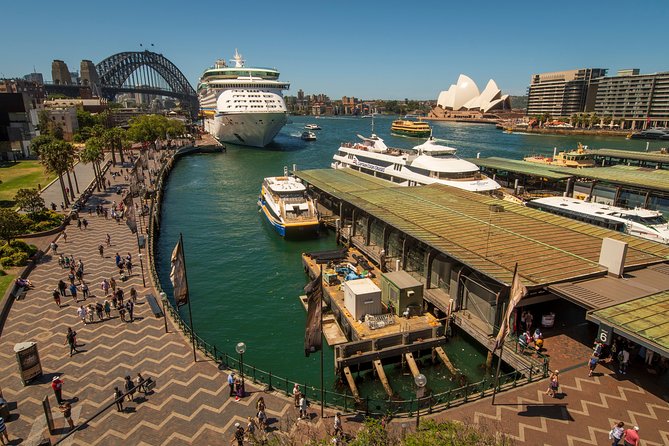
You’ll be near public transportation, so you can likely get there without a car, but the big point is this: the start location puts you close to harbour viewpoints and the early “big scene” shots. From the start, you’re set up to move toward iconic subjects like Luna Park, the Harbour Bridge, and the Opera House.
Because it is private, you and your group can go where you want within the Sydney focus, but the suggested flow is built around night photography. That means you’re not just chasing landmarks. You’re practicing scenes where exposure choices and composition decisions actually matter.
If you know you want long exposures or you want to reduce camera shake, consider bringing a tripod or renting one. Even if you’re comfortable handheld, a tripod can be useful when you are aiming for cleaner night detail and consistent framing from spot to spot.
Milsons Point to McMahons Point: Finding the Harbour Look
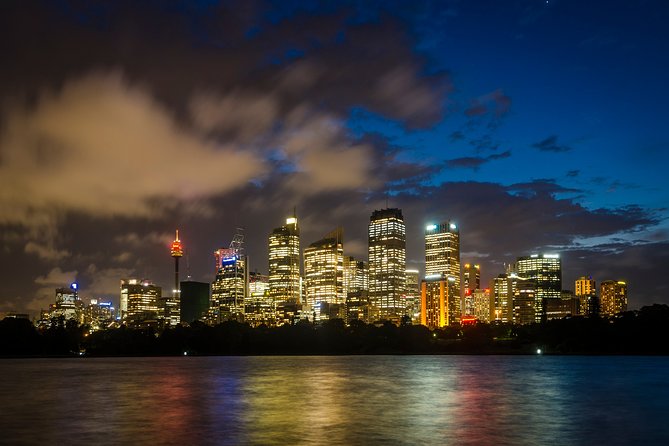
The first stops put you at the water’s edge and viewpoint level where Sydney’s night look starts to form. Milsons Point is a strong beginning because you can start building a sense of composition early, before the session gets crowded with icons.
Then you head to McMahons Point, which keeps the harbour vibe going. This is a good learning moment. When you change viewpoints slightly, you learn how the same subject can look completely different just because of framing. It’s also where you can start thinking in layers, foreground water, midground structures, and background lights.
In this part of the lesson, I’d pay attention to what the photographer emphasizes about framing. Night shots can tempt you into “include everything.” The better approach is choosing what to include and what not to include. When you remove clutter, you let the bridge and other bright elements do their job.
One practical tip I’d follow during these early stops: take one set of photos while you focus on settings, then take another set while you focus only on composition. That way you can compare results and connect your camera choices with what you’re actually seeing through the frame.
Luna Park at Night: Color, Contrast, and Shutter Speed Choices
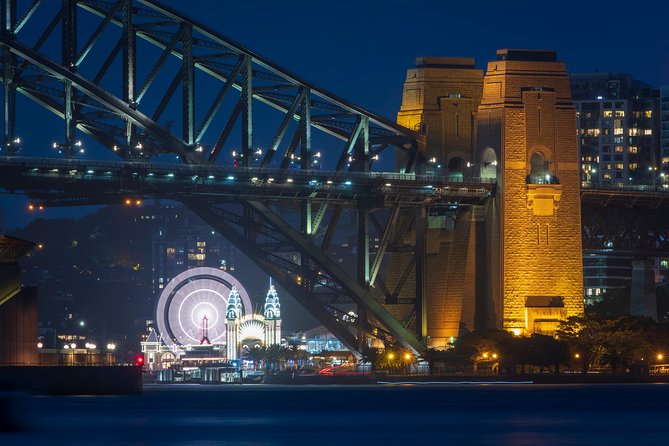
Luna Park is the fun stop, but it is also a useful training ground. You get bold signage and bright light sources in a compact scene. That is exactly the kind of environment where night photography can fall apart if you do not control exposure.
This is where your instruction on shutter speed and ISO starts to feel real. Brighter neon and lights can push your exposure, so you’ll learn how to balance shutter speed for either sharpness or motion, and ISO for noise control. You’re aiming for a look where the subject pops but the scene still has depth.
A common beginner trap at places like this is raising ISO to compensate and ending up with a noisy image. Instead, you’ll practice how changing settings affects your result. The exposure triangle lessons are designed so you can understand why the camera behaves the way it does, not just what number to dial in.
If you want a creative touch, you can experiment with different shutter speeds to see how light trails or slight blur changes the mood. The photographer will guide you toward settings that match the look you want.
You can also read our reviews of more photography tours in Sydney
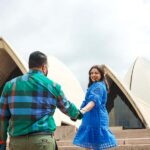
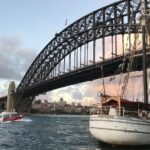
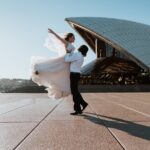
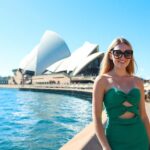
Sydney Harbour Bridge to Hickson Road Reserve: Big Structure, Precise Placement
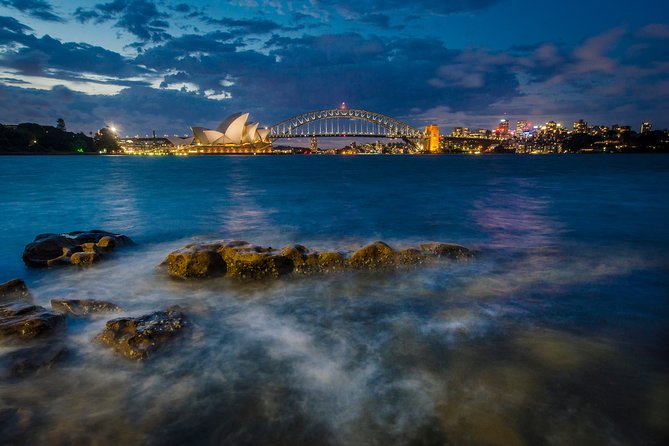
Once you move toward Sydney Harbour Bridge, you get one of the world’s most photogenic subjects, and also one of the hardest if you rush. At night, the bridge lights can be so bright that they tempt your camera into overexposure, and distant lights can make focus decisions trickier than in daytime.
This is where “standing in the right place at the right time” becomes more than a slogan. You will spend time aligning your shot so the bridge, water reflections, and other elements fall where you intend. When you get it right, the image looks deliberate, not accidental.
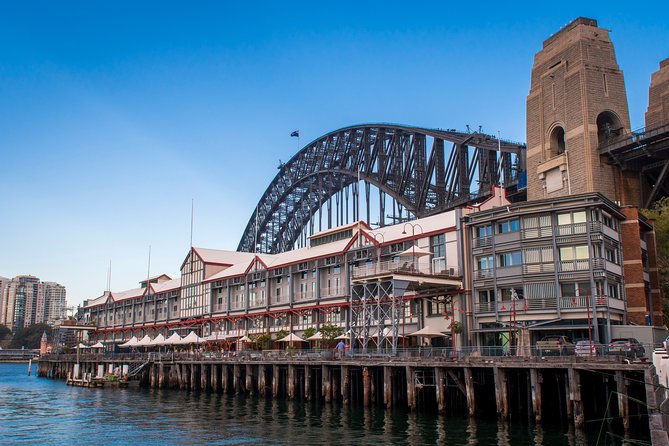
Next comes Hickson Road Reserve, another harbour-adjacent vantage where you can practice how foreground elements frame the main subject. You’ll likely be experimenting with the balance between sharp detail in the bridge and the softer look of water.
For the photography part, focus on learning outcomes, not just photos. Ask yourself, what did I change? What improved? What got worse? That’s how the instruction converts into your own skills for future trips.
Opera House and Cahill Expressway: Night Settings That Keep Details Crisp
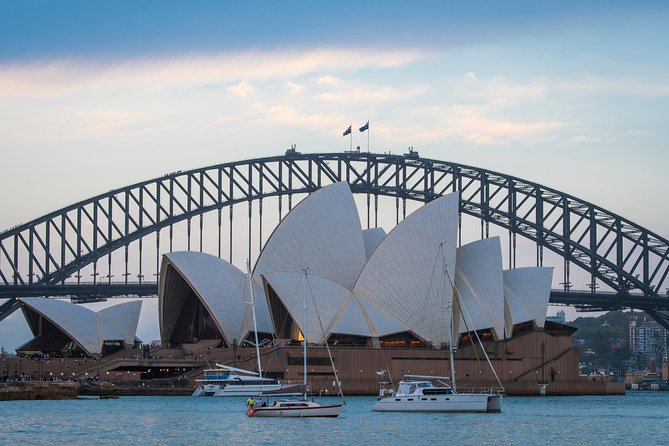
Sydney Opera House is a must, but in a lesson like this it’s also a test. You’ll work with strong contrast between bright building lights and darker surrounding areas. That means you’ll be thinking about exposure more deliberately than you do in daylight.
You’ll also practice night photography techniques, including which settings and locations work best for the kinds of shots you want. The Opera House usually rewards steady positioning and careful exposure choices, because a small change can flip the image from crisp to blown out.
After the Opera House, you move to Cahill Expressway, which tends to offer dramatic lines and light streak potential. This is a good place to apply what you learned about shutter speed. If you’re trying to capture traffic light motion or create a sense of flow through the frame, shutter speed is the lever you control.
This stop also helps you learn composition beyond the postcard angle. You can look for lines that lead into the main subject, and you can decide whether to prioritize lights or structure.
Mrs Macquarie’s Chair and The Rocks: Framing Stories, Not Just Landmarks
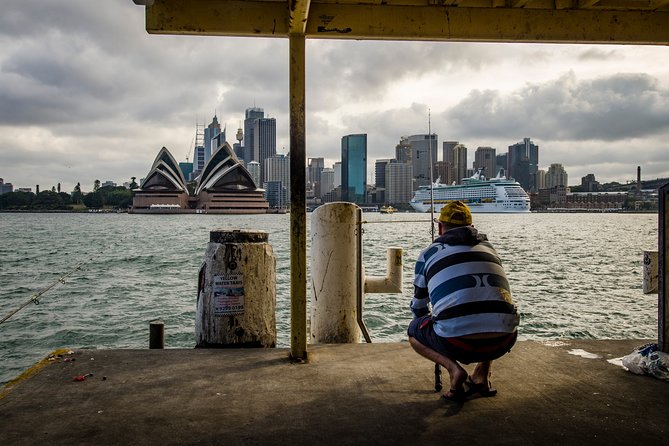
Mrs Macquarie’s Chair is where many people chase iconic shots, but the coaching angle here is about control. You’re likely to work on framing that balances the chair viewpoint with the city lights and harbour scene. The goal is to get a shot that feels organized, not just photographed from a scenic bench.
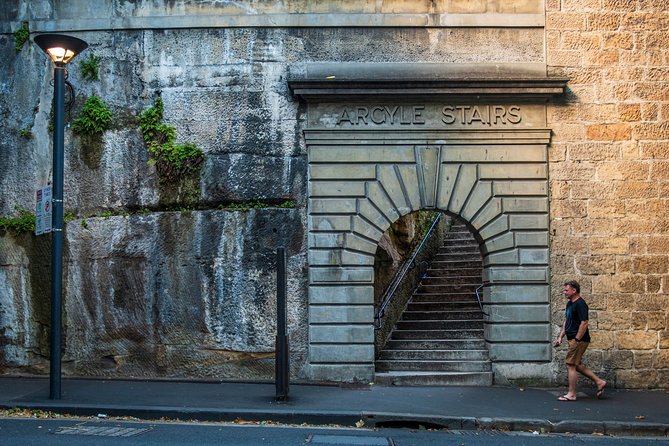
Then you head to The Rocks, where the texture changes. Instead of a single big monument, you get tighter streets and older-feeling details. That is excellent for learning how to include and exclude elements. In backstreets, it’s easy to capture everything and accidentally make the image messy.
This is also a good moment to practice your composition choices with smaller scenes. Look for patterns, doorways, street corners, and directional lines. If the photographer helps you refine what not to include, you’ll start seeing how negative space and light placement improve images fast.
One thing I like about this part of the route is that it breaks the habit of shooting only wide panoramas. You’ll get a chance to focus on details and also on how to tell a mini story in a frame, which is a skill you can use the next time you travel anywhere at night.
Circular Quay Finish and Your Photo Review for Faster Improvement
The session winds down at Circular Quay, a fitting place to revisit harbour lights one last time. By now, you’ve already practiced the fundamentals, so your final round of photos should look more intentional.
Circular Quay also gives you a chance to check what you learned. If your earlier images looked too bright, you can correct exposure. If the earlier shots were too noisy, you can rethink ISO. If your compositions felt random, you can reframe with more confidence.
The real value comes after you shoot, when the photographer helps with photography tuition and review. A review is where most lessons become meaningful, because you connect your camera settings to what you see in your results. In past sessions, people have appreciated the very practical tradeoff explanations and the way instruction helped them gain confidence with manual mode and refine composition skills.
If you can, bring a few shots you’re unsure about to review time. That’s where you’ll get the most useful corrections, like how a specific setting choice affected sharpness, brightness, or light trails.
Who This Masterclass Suits Best, and Who Might Want Another Option
This masterclass is ideal if you want your Sydney photos to look better because you understand your camera, not because you got lucky with an angle. It’s also a good fit if you like learning in a structured way over a short time, three hours instead of a vague weekend workshop.
You’ll probably enjoy it most if:
- You want instruction on Aperture, ISO, and shutter speed, and how they work together at night
- You plan to shoot landmark-style photos like the Opera House and Harbour Bridge
- You want someone to help you pick the right spot instead of guessing at viewpoints
Consider a different format if you expect a casual walk with no real technical focus. This session is built around settings, composition, and review. It’s hands-on, so you’ll be most happy if you want to actively work your camera during the experience.
Also, remember that camera gear is not included, and you’ll be making choices about tripod use. If you’re planning long exposures, check whether you want to rent a tripod, since tripods are available for rent.
FAQ
FAQ
How long is the Sydney Photography Masterclass?
The session runs for about 3 hours.
Is this a private experience?
Yes. It is private, and your group can be up to four people total.
Where does the tour start and end?
It starts at 41 Broughton St, Kirribilli NSW 2061, and it ends back at the same meeting point.
Do I need to bring my own camera?
Yes. A camera is not included. Tripods are not included, but a tripod rental option is available.
What will I learn during the lesson?
You’ll learn how to understand your camera with Aperture, ISO, and shutter speed, how to frame images, and night photography techniques. You’ll also get help with where to stand for the best results and end with a photography review.
Can I cancel for a full refund?
Free cancellation is available, and you can cancel up to 24 hours in advance for a full refund.
More Photography Tours in Sydney
More Private Tours in Sydney


More Tour Reviews in Sydney
- Blue Mountains Small-Group Tour from Sydney with Scenic World,Sydney Zoo & Ferry
★ 5.0 · 3,709 reviews

Not for you? Here's more nearby things to do in Sydney we have reviewed

More Photography Sessions
 ★ 4.6Private Photoshoot outside the Opera HouseFrom $10640 reviews
 ★ 5.0Sydney Photography Course in the Historic Rocks Area35 reviews
 ★ 5.0Photoshoot in stunning locations! (sydney)From $22026 reviews
 ★ 4.9Private photo tour at Sydney’s most iconic locationsFrom $15912 reviews
 ★ 3.5Professional Photoshoot at Opera HouseFrom $6910 reviews
 ★ 5.0Personal Travel & Vacation PhotographerFrom $2687 reviews
 ★ 5.0Private Pro Photography- Sydney -price per group of 4From $3377 reviews
 ★ 5.0Private Sydney Harbour Sunset Photo Tour & CruiseFrom $3377 reviews
Explore related Sydney days