
REVIEW · HISTORICAL TOURS
Sydney Photography Course in the Historic Rocks Area
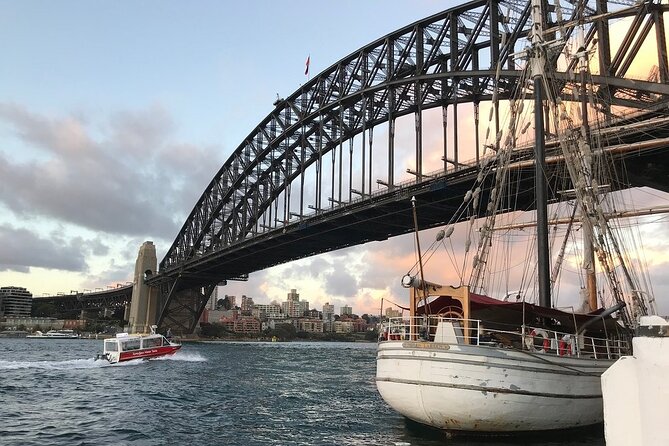
Handheld photos get easier fast. This course turns Sydney’s The Rocks laneways into a practical classroom, with a guide like Alfonso Calero showing you how to control your camera in manual mode while you chase views of the Harbour Bridge, Opera House, and the sandstone streetscape. You choose an afternoon or nighttime class, so the lighting can match the kind of look you want.
What I like most is the hands-on format: you get composition and exposure coaching on the actual spots you are photographing, plus clear guidance on shutter speed and how to use what you see. One consideration: you need to bring your own camera, and there is no hotel pickup, so plan to make it to Kendall Lane on time and be ready to walk.
Key things to know before you go
- Small group, max 10 people means more time to ask questions and get feedback
- Manual mode coaching focuses on composition, exposure, and shutter speed, not just theory
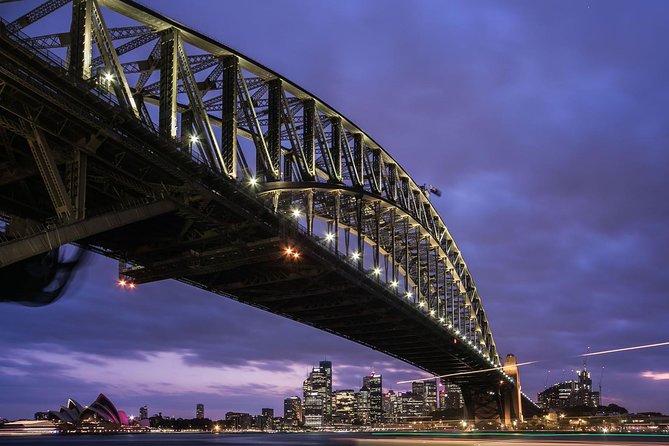
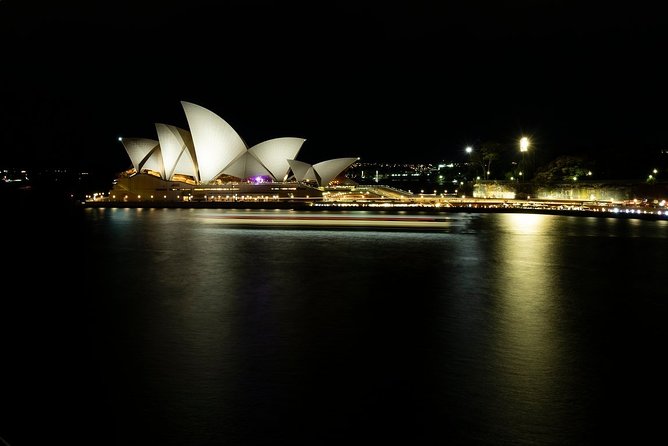
- Prime Rocks photo locations include views for the Harbour Bridge, Opera House, and sandstone buildings
- Afternoon or nighttime sessions help you match the shoot to your interests and lighting conditions
- Course notes included so you can keep using what you learn after the walk
- No food and no pickup means you should handle snacks and get yourself to the meeting point
The Rocks is a built-in photography workshop
If you want to improve quickly, you need two things: good subjects and real-time feedback. The Rocks delivers both. The area is packed with historic sandstone buildings, narrow laneways, and classic Sydney landmarks, so you can practice skills like framing, steadiness, and exposure without changing your location every five minutes.
I also like that this isn’t a lecture-style class. You spend time going from spot to spot, learning as you shoot, including areas around the The Rocks Discovery Museum and other historic stops scattered through the laneways. That matters because camera settings only make sense once you see what they do to a specific scene.
You can also read our reviews of more historical tours in Sydney
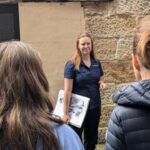
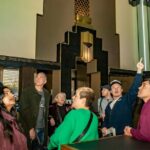
Price and what you get for €154
€154 for about 2 hours 30 minutes is a fair deal when you think about what’s included: a professional tutor/guide, course notes, and targeted advice you can actually use on your camera. You are not just buying a viewpoint, you are buying time with someone who can help you adjust settings and composition in the moment.
The value gets better because the group is capped at 10 people. In a smaller group, you tend to get more direct attention, and it is easier to experiment instead of waiting your turn. And since you choose afternoon or nighttime, you are also buying flexibility, which can be important in Sydney where lighting changes fast.
Meeting at Kendall Lane, then moving at a useful pace
The meeting point is Kendall Lane, Kendall Ln, The Rocks NSW 2000, Australia. The activity ends back at the meeting point, so you do not need to worry about a complicated transfer at the end.
This is a practical format for most people because you are near public transportation and the tour is designed so most travelers can participate. The walking is part of the learning, though, so wear shoes you trust for uneven sidewalks and laneway corners. If you rely on hotel pickup for convenience, plan ahead because it is not included.
Also, you will get a mobile ticket, and confirmation is received at booking. That helps you organize your day without extra back-and-forth.
Stop 1 in The Rocks: laneways, sandstone textures, and landmark angles
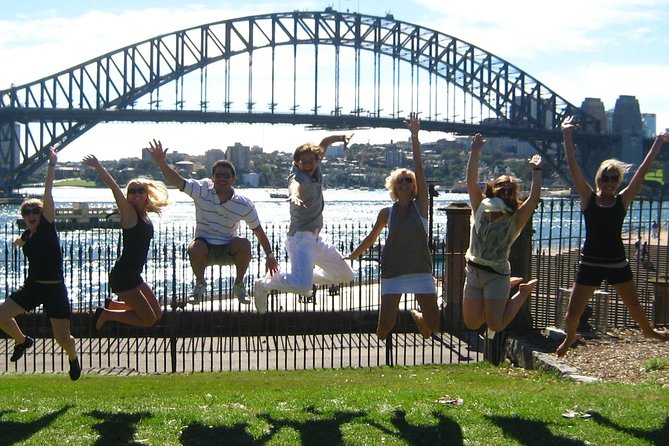
The first big focus is The Rocks itself, and that is where the “learn by photographing” approach really kicks in. You start in the heart of the district and head through the area’s historic sites and laneways, including the zone around the The Rocks Discovery Museum.
Here is why this stop is so effective for improving your photos:
- You get strong architectural detail, so composition lessons feel concrete. Lines in the sandstone, window spacing, and alley depth all respond well to framing choices.
- You can practice exposure and shutter speed on scenes that have both texture and strong light. That combination helps you see the difference between a setting that looks fine and one that creates the look you want.
- You can work toward landmark shots. The Harbour Bridge and Opera House views are the kind of subject where small changes in exposure and shutter speed show up instantly.
You will be taken to some of the best vantage points for photography, including the classic views of Sydney Harbour Bridge and Sydney Opera House. When your guide helps you find the right angle, you learn faster because you are not guessing what is possible.
One practical drawback of this stop: you need to be ready to experiment. If you keep your camera locked to auto mode the whole time, you miss the core lesson. This is a manual-mode class, so bring your camera settings notebook (mental or actual), and be willing to try.
Stop 2 at Sydney Photography Tours: practice with the techniques you learned
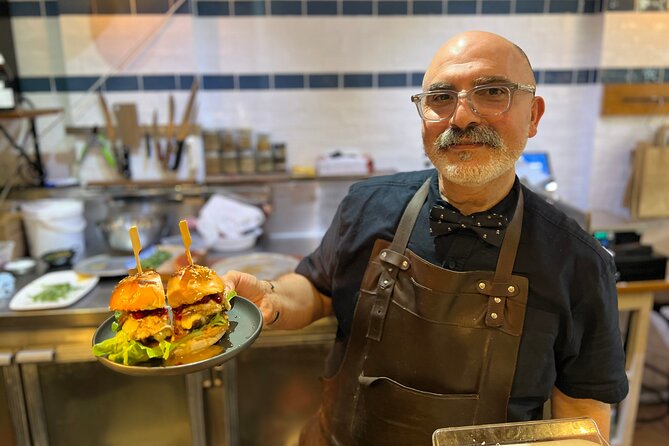
After the Rocks segment, you move to Sydney Photography Tours as the next stop. The data does not spell out every micro-detail of what happens here, but the purpose is clear: you continue practicing with the same guide, using the settings and composition ideas you just worked through.
This is the part of the course I would treat like your “turn the knobs” stage. By now, you know what your camera can do, and you should be able to focus on refining your results:
- tighten framing and improve visual order
- adjust exposure for highlights and shadow detail
- make deliberate shutter speed choices for sharper details or motion effects
The course is small, and the guide can tailor the lesson based on what you are shooting. That customization is one of the reasons people rate this class so highly. When someone explains why a shot is failing, you stop repeating the same mistake.
You can also read our reviews of more photography tours in Sydney
Afternoon vs nighttime classes: choosing the right light for your camera
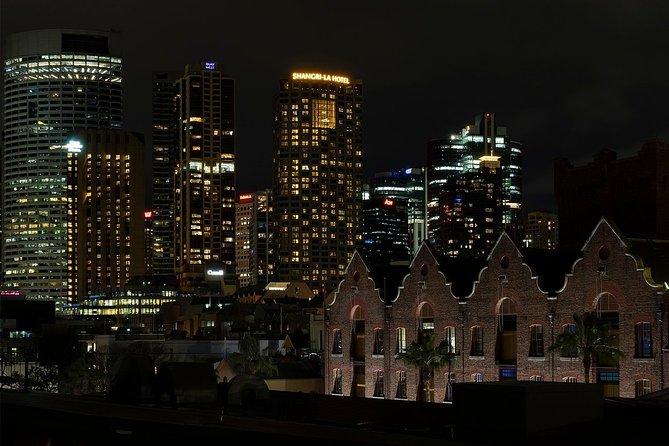
You can pick either an afternoon class or a nighttime class. That choice matters because manual mode lessons become much more useful when you see different lighting conditions.
In the afternoon, you typically have more forgiving light, so it is easier to focus on:
- composition and how to control the frame
- balancing exposure across bright sky and darker street areas
- dialing in shutter speed for crisp architecture
Night classes usually bring more contrast and more challenging light. You might find you have to pay closer attention to shutter speed and exposure choices to avoid blur or underexposed subjects. If you are interested in the Harbour Bridge and city lights look, nighttime is usually the better match, but you still learn the same underlying camera control.
Good weather is required. If it is canceled due to poor weather, you are offered a different date or a full refund. For night sessions, that weather factor becomes even more important, so watch the forecast and plan accordingly.
What you learn: manual mode, composition, exposure, and shutter speed
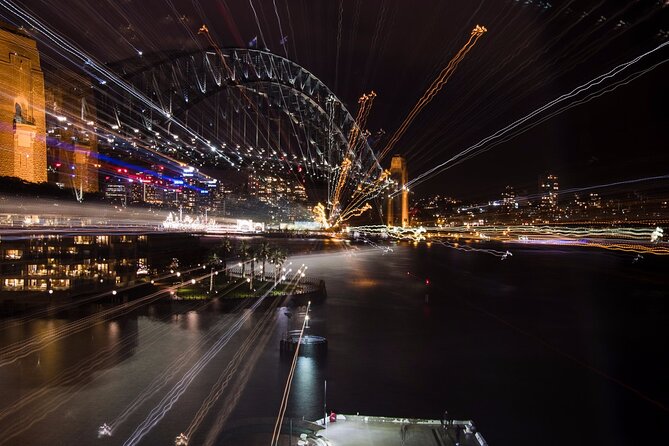
This course is built around manual controls, not just tips you can read later. You get customized lessons on how to use your camera in manual mode, including advice on:
- composition
- exposure
- shutter speed
- and more
The practical value is in the coaching style. Alfonso Calero is described as approachable, friendly, and knowledgeable, and that shows up in the way people talk about learning new techniques and viewing scenes differently. When the guide explains settings clearly and you get chances to experiment right away, it sticks.
Also, course notes are included. Even if you do not remember every detail during the shoot, you can refer back after. That is one of the easiest ways to turn a 2.5-hour experience into real progress.
A simple way to get the most out of the teaching
When you reach a new spot, choose one thing to focus on for 3 to 5 shots. For example:
- first pass: dial exposure and lock your composition
- second pass: adjust shutter speed and compare the result
- third pass: refine framing and repeat with the best settings you found
This keeps you from trying to fix everything at once. It also makes it easier to ask the guide targeted questions.
Small-group attention: why max 10 matters
A class capped at 10 people sounds small on paper, but the effect is real. You are more likely to get feedback on your specific camera settings and the kind of results you are aiming for.
It also makes the workshop feel less rushed. Instead of moving on before you understand what changed, you get time to experiment. That “try it, see it, adjust it” rhythm is what turns manual mode from confusing to usable.
People who loved the class also highlighted how worth the money it was for the guidance they received. The guide’s ability to explain and the time you get to practice are the main reasons.
What’s included, what’s not, and what to bring
Included:
- photography tutor or guide (Alfonso Calero Photography)
- course notes
- advice on photography
- the activity runs to photo stops within The Rocks and ends at the meeting point
Not included:
- food and drinks
- hotel pickup and drop-off
So plan your day like a local: eat before you arrive or bring a small snack. Bring your own camera, since that is required. If you know you will be switching settings often, use a strap you can trust and keep your camera settings accessible.
For meeting-day sanity, bring your camera battery fully charged and a way to check your shots (screen and magnification if you use it). Manual mode changes show up in the final file, so you want to see what you got quickly.
Who should book this course, and who might want a different style
This works especially well if you:
- want to stop relying on auto mode and gain real control
- like photographing city landmarks and architecture
- enjoy learning by walking and shooting rather than only reading or watching videos
- travel with a digital camera and want hands-on help
It is also a good fit if you prefer small-group teaching. With a max of 10, you are less likely to feel lost or ignored.
You might consider another option if you hate walking, want purely indoor instruction, or you are not willing to use manual mode during the shoot. This course is about adjusting settings while you are out there.
If you have service animals, service animals are allowed. The area is near public transportation, which helps if you prefer transit over taxis.
Should you book the Sydney Photography Course in the Historic Rocks area?
I think you should book it if your goal is practical camera control fast. The combination of The Rocks subjects, landmark photo opportunities, and a guide like Alfonso Calero focused on manual mode, exposure, shutter speed, and composition is exactly the kind of structure that helps you improve in one session.
Book it too if you want flexibility. Afternoon or nighttime gives you a choice based on the look you want, and the small group keeps the attention personal.
If you want a stress-free tour with pickup and included snacks, this one may not fit. But if you show up ready to shoot, and you are willing to experiment, this class offers strong value for a very photogenic part of Sydney.
FAQ
How long is the Sydney Photography Course in The Rocks?
The course lasts about 2 hours 30 minutes.
Where does the tour meet?
It meets at Kendall Ln, The Rocks NSW 2000, Australia.
Do I need to bring my own camera?
Yes. You need to bring your own camera.
What kind of photography skills will I learn?
You will get guidance on using your camera in manual mode, including composition, exposure, and shutter speed tips.
Is there an afternoon or nighttime option?
Yes. You can choose either an afternoon class or a nighttime class.
How many people are in the class?
The class has a maximum of 10 travelers.
What is included in the price?
Included are the photography tutor/guide and course notes, plus plenty of advice on photography.
Is food or hotel pickup included?
No. Food and drinks are not included, and hotel pickup and drop-off are not included.
Does the tour run in all weather?
It requires good weather. If canceled due to poor weather, you will be offered a different date or a full refund.
What if there are too few participants?
A minimum of 2 people per booking is required. If the minimum isn’t met, you will be offered a different date or experience, or a full refund.
More Photography Tours in Sydney
More Historical Tours in Sydney
More Tour Reviews in Sydney
- Blue Mountains Small-Group Tour from Sydney with Scenic World,Sydney Zoo & Ferry
★ 5.0 · 3,709 reviews

Not for you? Here's more nearby things to do in Sydney we have reviewed


More Historical Tours
 ★ 4.7The Rocks 90-Minute History Walking TourFrom $321,092 reviews
 ★ 5.0Sydney The Rocks Historical Pub TourFrom $82251 reviews
 ★ 4.9Sydney Convicts, History & The Rocks 2.5-Hour Walking TourFrom $36181 reviews
 ★ 5.0Historical True Crime Walking Tour of East SydneyFrom $2453 reviews
 ★ 5.0Private Tour in Sydney to Bondi and Historical SiteFrom $61050 reviews
 ★ 5.0Sydney Private Half Day Tour: Beaches, History & IconsFrom $25419 reviews
 ★ 5.0Historic Walking Tour of GlebeFrom $2815 reviews
 ★ 5.0Sin and the City — Kings Cross Golden Age Walking History TourFrom $419 reviews
Explore related Sydney days